Creating Sessions for an Organization
You can create and schedule sessions between mentor and mentees.
Sessions can be created using any one of the following methods:
- Using the Create session button
- Using bulk upload
Using the Create Session Button
To create a session, do as follows:
Do one of the following actions:
On desktop: Select Workspace from the left panel.
On mobile: Tap the
 icon and select Workspace.
On the Workspace page, click Manage session.
Go to the Create sessions tab.
Click the Create session button. The Create a new session page appears.
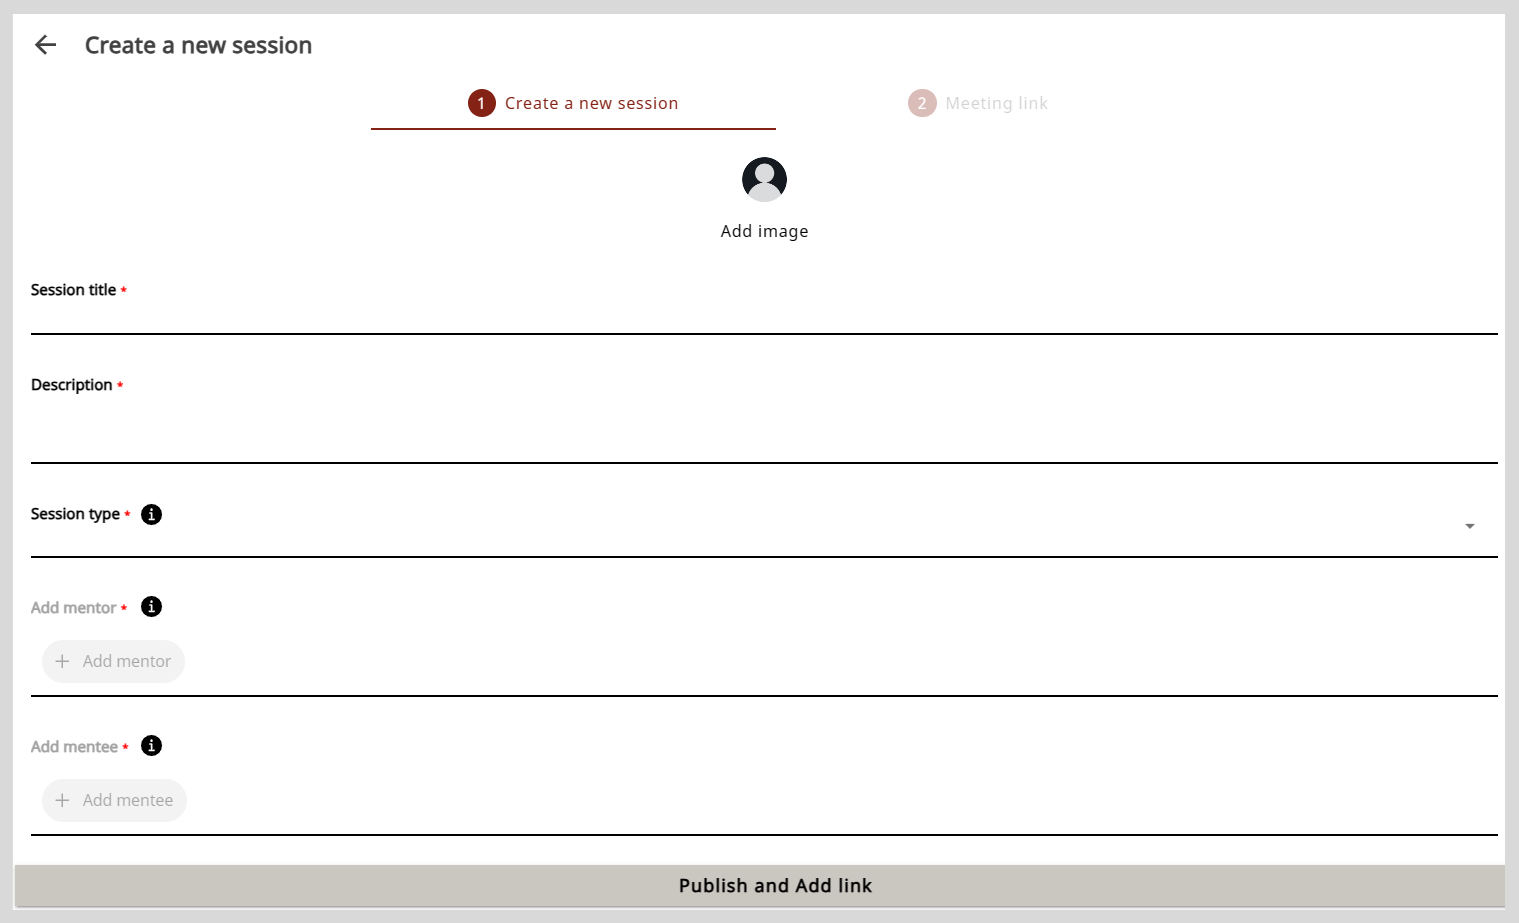
Optionally, to add a session image, click Add image and do one of the following actions:
- To take a picture, select Take Photo.
- To upload an image, select Choose from library.tip
Select an image that is relevant to the session topic.
Enter the session information in the Session title box and Description box.
noteThe information that you need to provide can vary based on how this feature is set up by your organization.To select the type of session, do as follows:
- Click the Session type box.
- Select the session type from the Session type dropdown and click Ok.
noteYou cannot change the session type after publishing the session.
To assign the session to a mentor, do as follows:
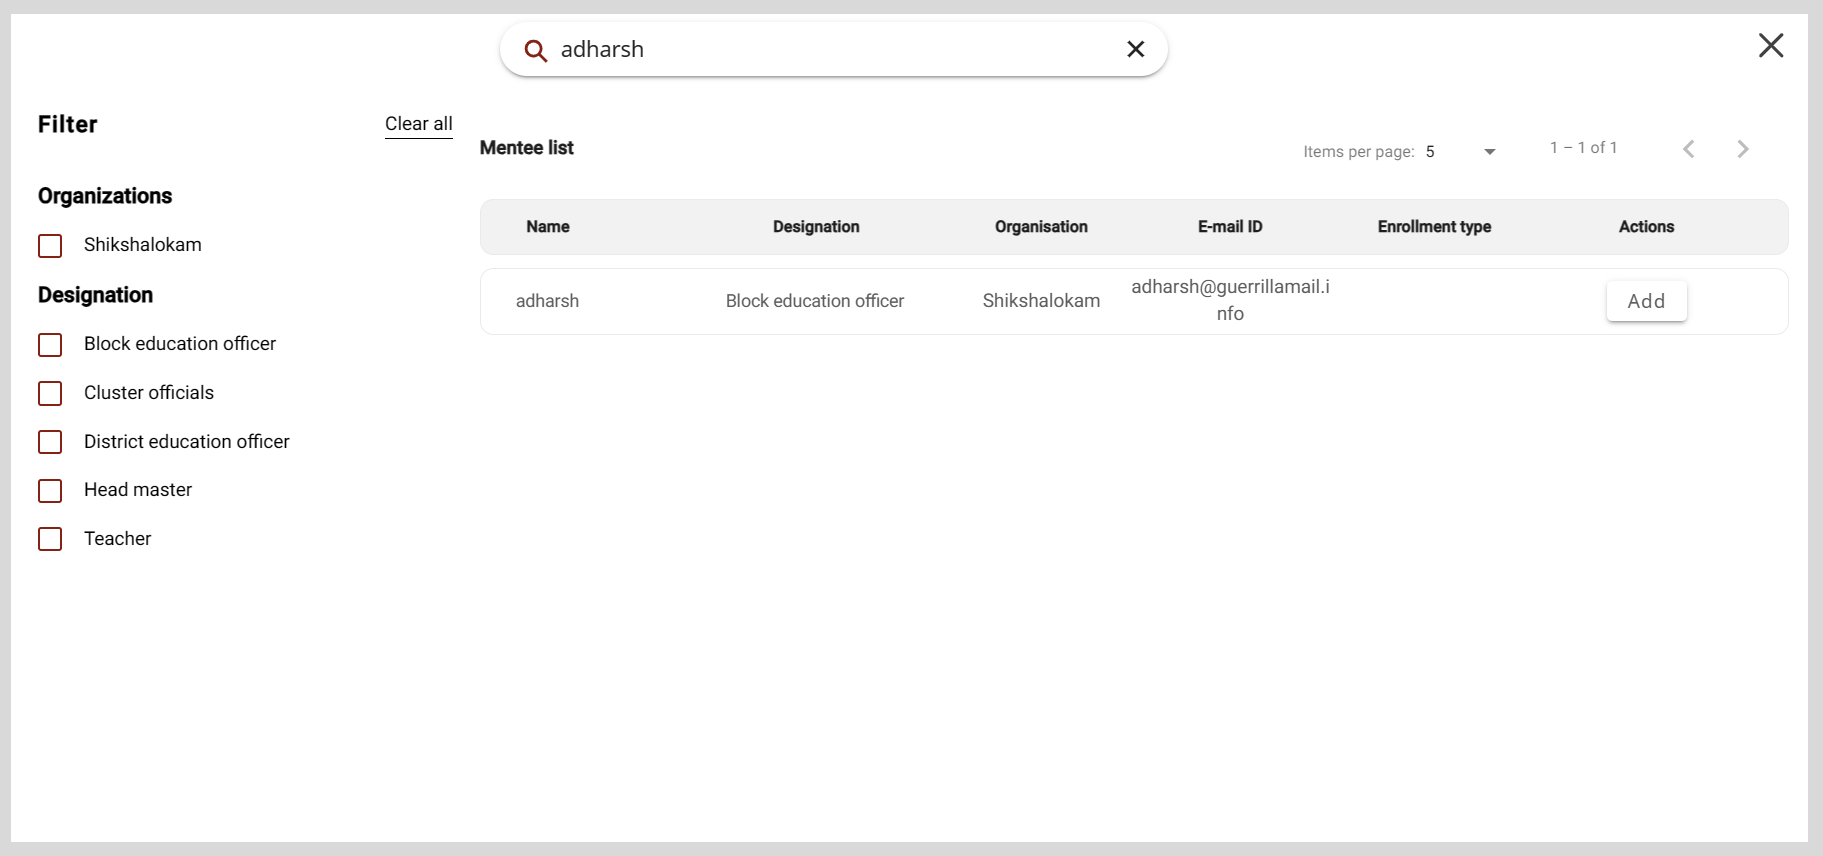
Click + Add mentor. The Mentor list window appears.
Find a mentor from the list and click Add.
tipTo assign the session to a different mentor, do as follows:
- In the + Add mentor box, click the mentor's name that was previously selected.
- Find a new mentor and click Add.

noteAfter publishing the session, you cannot assign the session to a different mentor.
tipFrom the Mentor or Mentee list window, you can find users by:
- Searching for the user in the Search box.
- Using filters such as the user's organization or designation.
- Changing the number of users listed on the page using the Items per page dropdown.
To invite mentees, do as follows:
Click + Add mentee. The Mentee list window appears.
Find a mentee from the list and click Add.
tip- It is optional to invite mentees to a Public session.
- To facilitate one-on-one mentoring, you can set up Private sessions consisting of an invited mentee.
noteYou cannot add mentees after the session enrollment limit is reached. If you add new mentees after this limit is reached, a session seats full message appears.
To schedule a session, do as follows:
- Click the Start date box and End date box.
- Select the date and time from the date and time picker.
- Click
 .
.
noteThe session duration should be at least 30 minutes.
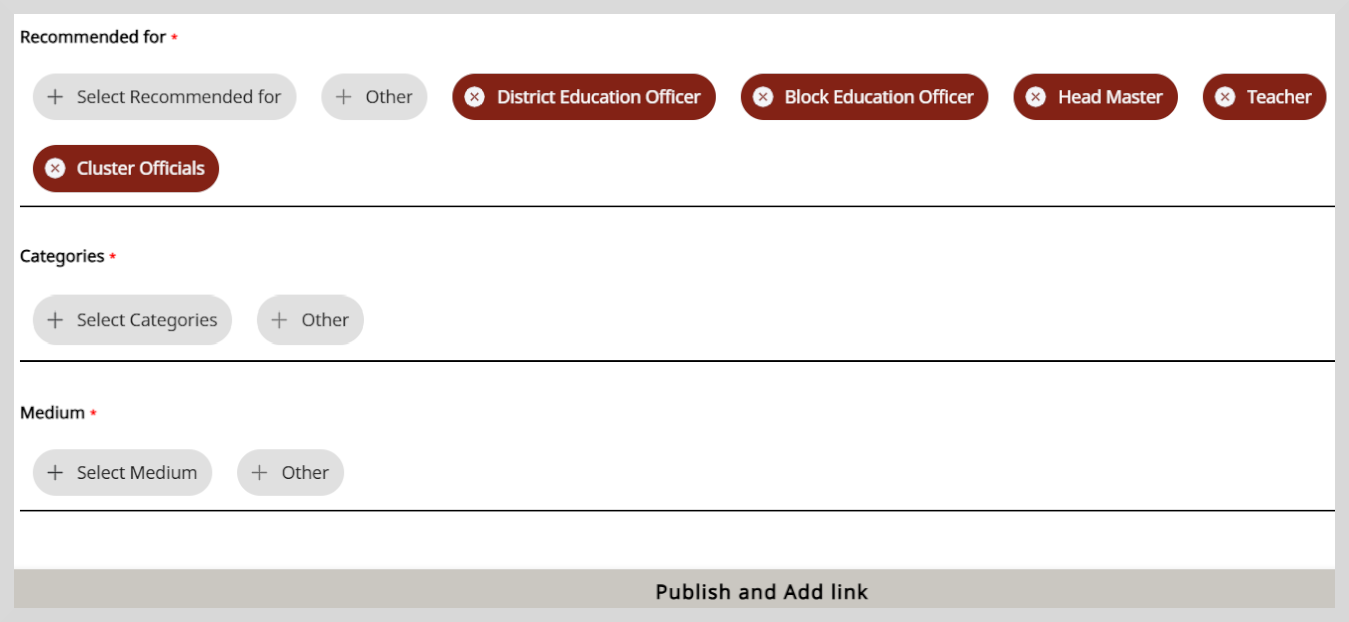
Select an option from the following:
- Recommended for
- Categories
- Medium
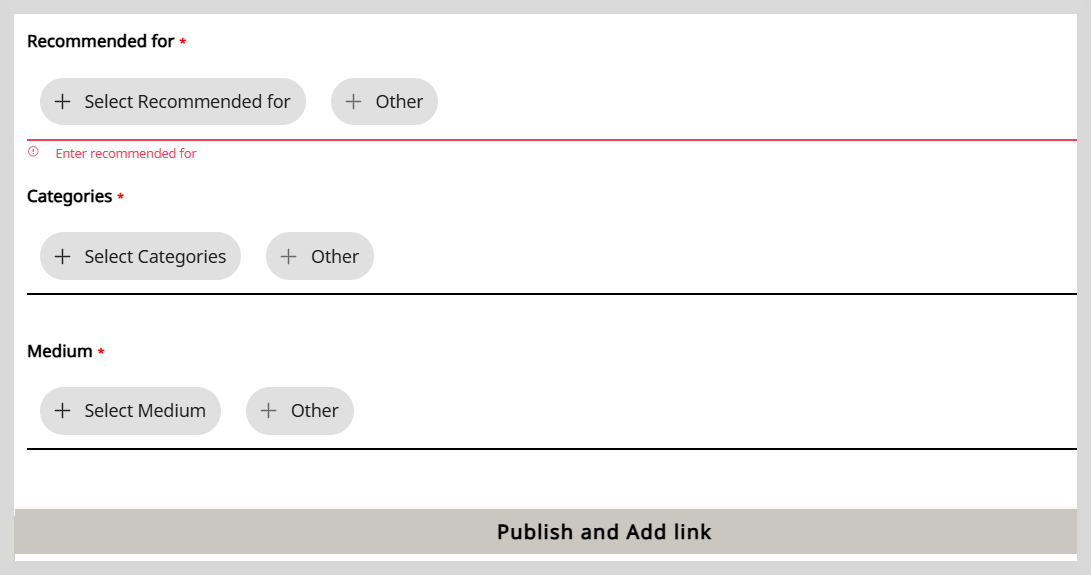
Click +Select Recommended for. The Select Recommended for window appears.
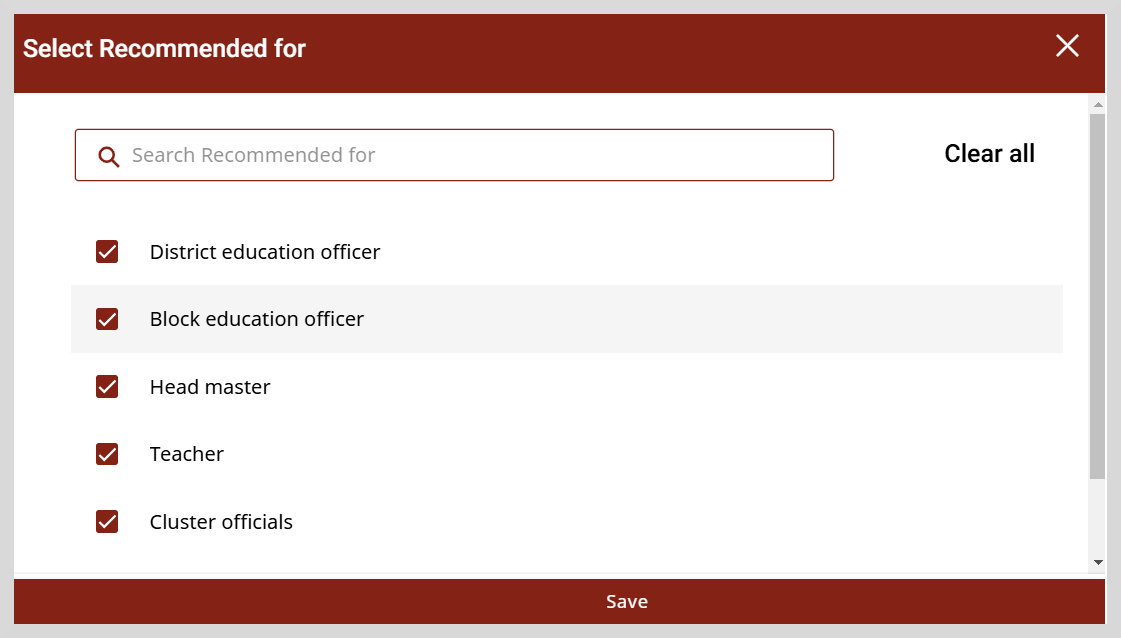
Select the checkbox for the options that you want to recommend. You can also do a quick search using the search bar. Type one or more letters in the search bar. The items are displayed based on the search term you typed.
Do one of the following actions:
- Click Save to save the selected Recommended options.
- Click Clear all to clear the selected options.
- Click X to close the window without saving the changes.
After you click Save, the selected items appears under the +Select Recommended for section.
To add a new item, click +Other. This opens a popup window.
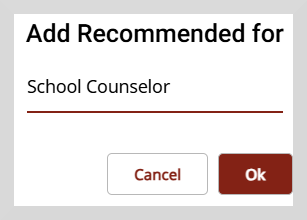
Enter the recommended item that you would like to add and then click Ok. The newly added item appears as +1more as shown in the following figure.
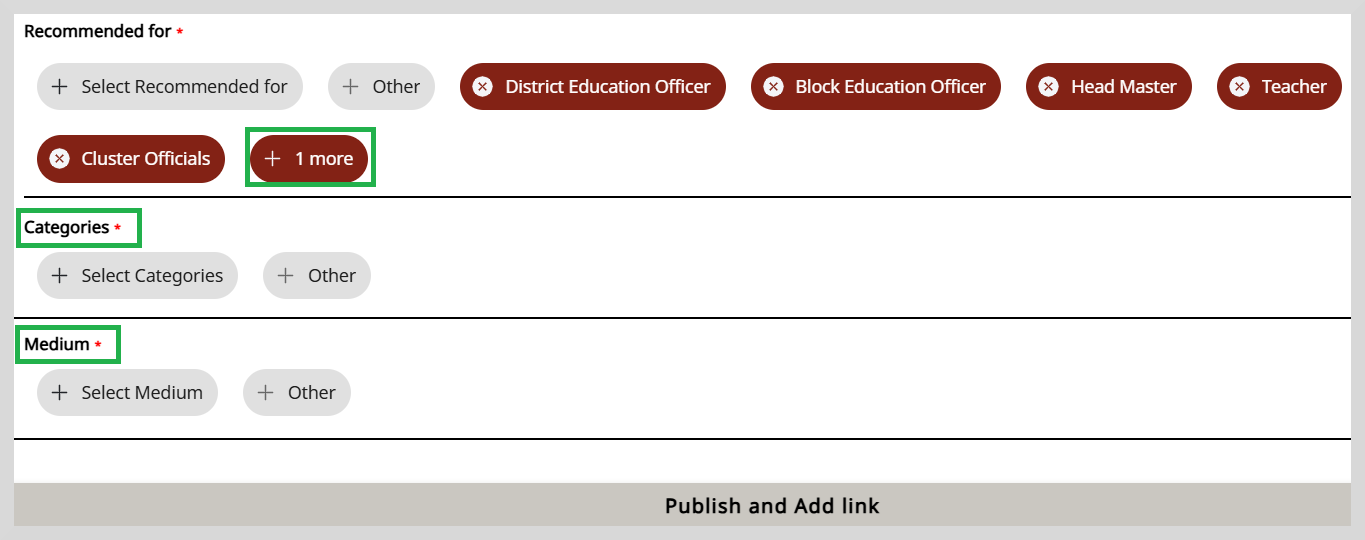 noteA maximum of five options will be shown. If there are more than five options, they will be denoted with “+number of additional options." For example, if 11 options are selected, the first five will appear under the + Select Recommended for section, while the remaining six will be shown as "+6more".
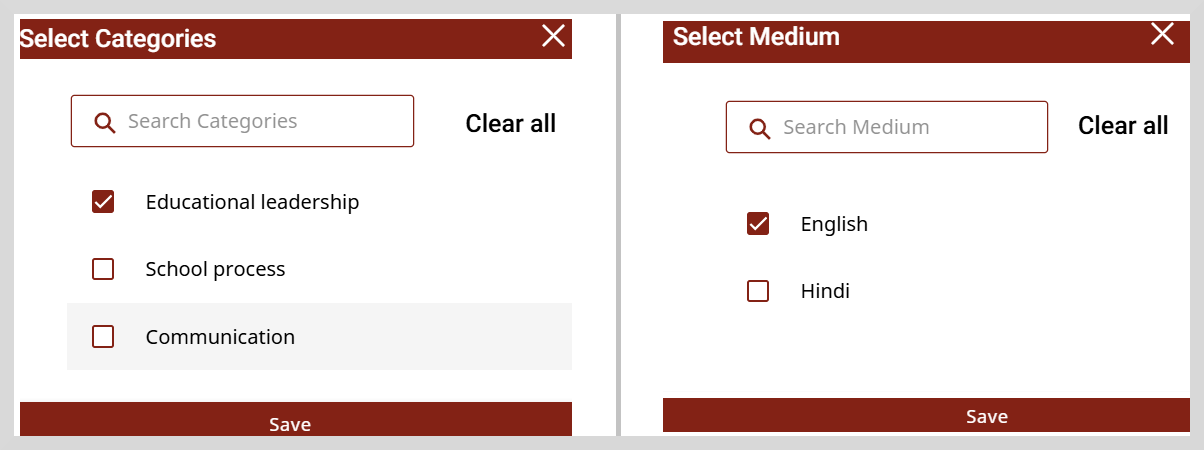
Repeat the same procedure as +Select Recommended for, to select the categories and the medium for creating a session.
Click Publish and add link. The session is published on the platform and mentees can now view the session.
noteYou must set the meeting platform on the Meeting Link tab.
 tip
tipTo go back and edit the session details, do as follows:
- Go to the Edit session tab.
- Make the necessary changes and click Save.
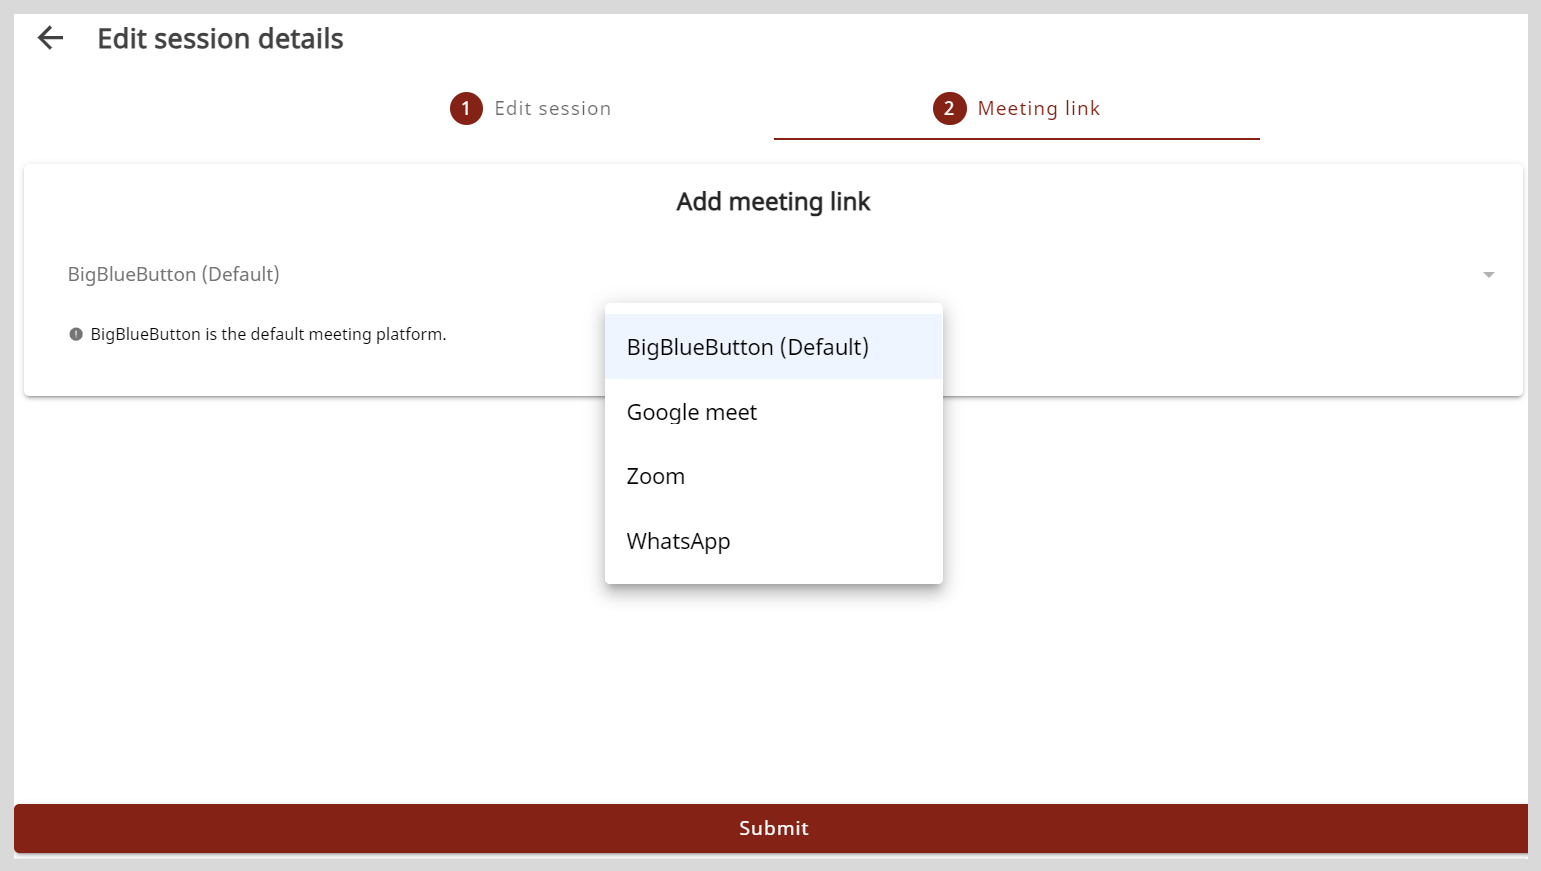
On the Meeting link tab, select a meeting platform from the Add meeting link menu.
noteIf you have not selected a meeting platform, BigBlueButton is set as the default platform.
Meeting Platform Meeting Information BigBlueButton No action required. Google Meet Copy and paste the call link in the Meet link box. WhatsApp Copy and paste the call link in the WhatsApp box. Zoom Do the following actions:
- Copy and paste the meeting link in the Zoom link box.
- Copy and paste the meeting ID in the Meeting ID box.
- Copy and paste the passcode in the Passcode box.
Click Submit. The meeting information is added.
tipYou can find the sessions that are assigned to mentors and track their progress on the Session list section.
Using Bulk Upload
For an organization's mentorship program, you can create and schedule multiple sessions between mentors and mentees.
To create sessions through bulk upload, do as follows:
Do one of the following actions:
On desktop: Select Workspace from the left panel.
On mobile: Tap the
icon and select Workspace.
On the Workspace page, click Manage session.
Go to the Bulk upload tab.
Click Download sample CSV to download the sample CSV file. The downloaded sample file contains information that you must clear before adding the session details.
Open the downloaded CSV file and clear the sample details.
Enter Create in the Action column.
Leave the ID column as blank.
Enter the session information as per the following table:
Details Actions Title You must enter the topic for the session. Description You must provide further details on the session. Type You must specify the type of session as Private or Public.
noteYou cannot change the session type after publishing the session.Mentor You must enter the email ID of the mentor to whom you want to assign the session.
noteAfter publishing the session, you cannot assign the session to a different mentor.Mentees To invite mentees to a session, enter the email IDs of one or more mentees.
tip- It is optional to invite mentees to a Public session.
- After a session is published, you can update the list of invited mentees by adding or removing mentees.
- To facilitate one-on-one mentoring, you can set up Private sessions consisting of an invited mentee.
noteThe number of invited mentees should be within the session enrollment limit.
Date You must enter the scheduled date in DD-MM-YYYY format. Time Zone You must specify the time zone as IST or UTC.
noteOn the application, the time displayed is IST.Time As per the specified time zone, you must enter the scheduled start time using a 24-hour clock format. For example, to schedule a session at 5 pm, specify the time as 17:00 Hrs.
noteWhile scheduling a session, ensure that the mentor does not have another session scheduled during the same time.
You cannot assign back-to-back sessions to a mentor. For example, if a mentor is assigned a session from 3pm to 4pm, you cannot assign another session at 4pm.
Duration You must enter the duration of the session in minutes.
note- Enter only numerical values. For example: 60.
- The session duration should be at least 30 minutes.
Recommended For You must specify one or more target mentees for the session. For example: Teachers, Block education officer Categories You must specify one or more categories to which the session topic belongs. For example, if the session topic is Communication Skills Training, the categories can be Communication, Life skills. Medium You must enter the language using which information is communicated during the session. Meeting Platform Specify the meeting platform. The supported meeting platforms are as follows:
- BigBlueButton
- Google Meet
- Zoom
noteIf you have not specified a meeting platform, BigBlueButton is set as the default platform.Meeting Link For meeting platforms other than BigBlueButton, copy and paste the meeting link. Meeting Passcode If the meeting platform is Zoom, copy and paste the meeting passcode. On the Bulk upload tab, click Upload CSV and select the CSV file containing the list of sessions. To view the published sessions and their session IDs, go to the Create sessions tab.
noteAfter creating sessions, you will receive a CSV file in your email that displays details such as:
- ID
- Session status (Published or Invalid)
- Status message
If the details entered in the uploaded CSV need corrections, the session status would be invalid and the session is not published. In such cases, refer to the status message and reupload the respective file with the updated details.
To make the necessary updates, see the Troubleshooting Invalid Messages section.